

It’s the holidays and the week before finals, so, naturally, what do Voice reporters Sam Kelley, Becca Raffel and Callie Walker decide to do on a Thursday afternoon? Make a “Chocolate Chip Cookie and Cream Tart” from Chocolate Therapy. Below is a step-by-step process through which this rich tart can appear in your very own oven.
Photos by Callie Walker and Becca Raffel.
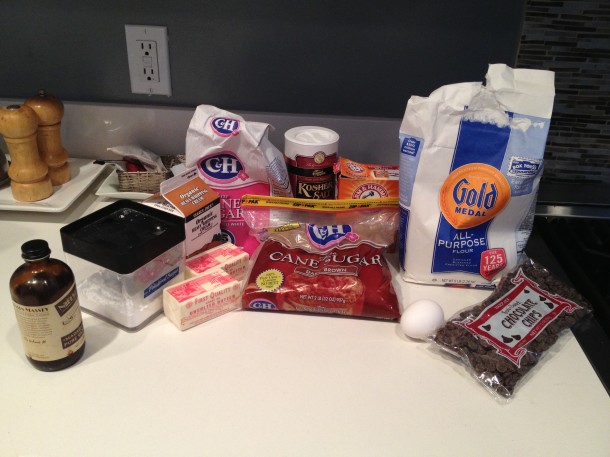
1. Gather Ingredients
The first step necessary in any baking venture is to make sure you have all the necessary ingredients and enough of each of them. Make sure you have flour, baking soda, salt, unsalted butter, light brown sugar, granulated sugar, an egg, vanilla extract, chocolate chips, heavy whipping cream and powdered sugar. Once, you obtain these ingredients, you’ll be ready to go.
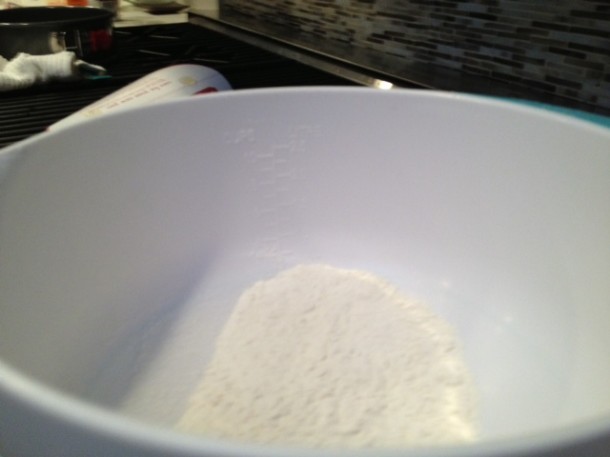
2. Cookie Crust
Begin work on cookie the crust. In a bowl, mix together 1 cup flour, 1/2 teaspoon baking soda and 1/2 teaspoon salt while preheating the oven to 350 degrees.
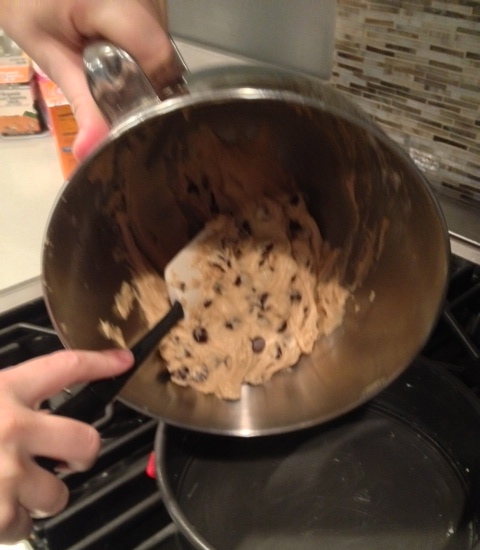
In another bowl, mix together 1 stick of unsalted butter, 1/2 cup brown sugar and 6 tablespoons granulated sugar. Use an electric mixer to combine these, and then add in the egg and 1 teaspoon vanilla extract and continue to mix together. Next, add the previously mixed flour/baking soda/salt combination to this bowl, and use the electric mixer to mix these. Also mix in 1 cup of chocolate chips.

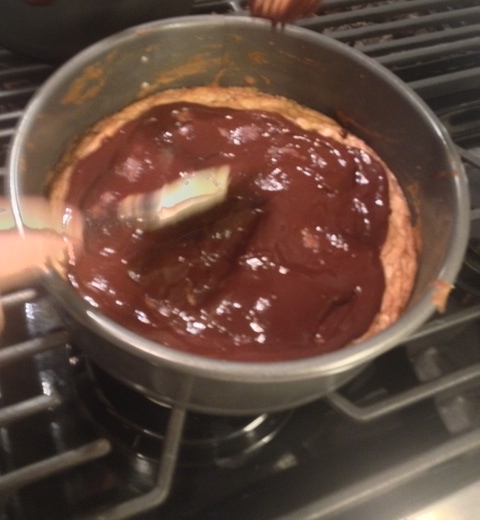
Take the mixture with the chocolate chips and spread it evenly onto a buttered 10-inch pan and place in the oven for about 17 minutes.
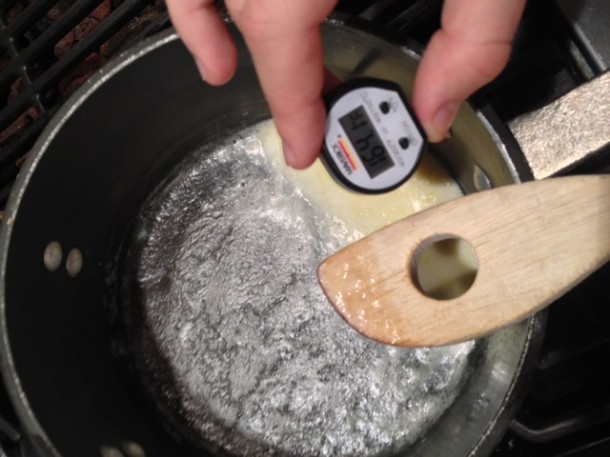
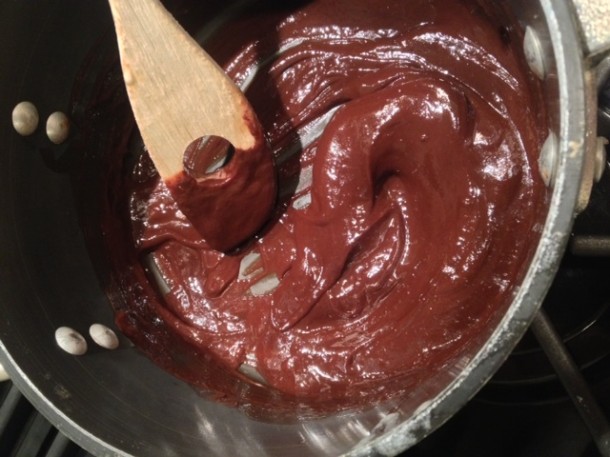
3. Chocolatey Filling
As the crust is baking in the oven, feel free to start on the filling. Begin by heating 1/4 cup heavy whipping cream and 1 tablespoon butter in a medium saucepan to 175 degrees as measured by a thermometer. Make sure the thermometer does not hit the bottom of the saucepan because it can mess up the reading. If you don’t have a thermometer, heat it until it barely begins to bubble.
Next, remove the mixture from the stove and mix in 2/3 cup chocolate chips and 1/2 teaspoon vanilla extract.
Spread the filling on top of the crust, which should be ready by now. Let the cookie with the filling on top sit for up to 30 minutes. Being the impatient bakers that we are, we didn’t let it sit at all and instead refrigerated it for about 10 minutes and it worked just fine. Okay, the whipped cream melted a little, but it still tasted great!
4. Creamy Topping
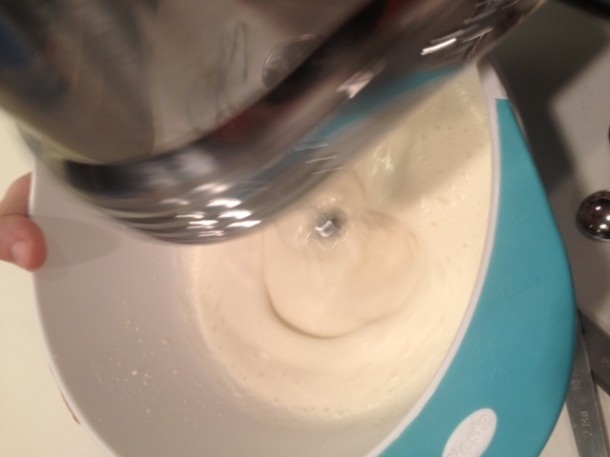
As the cookie thaws in the refrigerator, or cools off in the room temperature air, get to work on the topping. Using the electric mixer again, mix together 1 cup heavy whipping cream, 1 tablespoon powdered sugar and 1 teaspoon vanilla extract until it becomes fluffy like whipped cream.
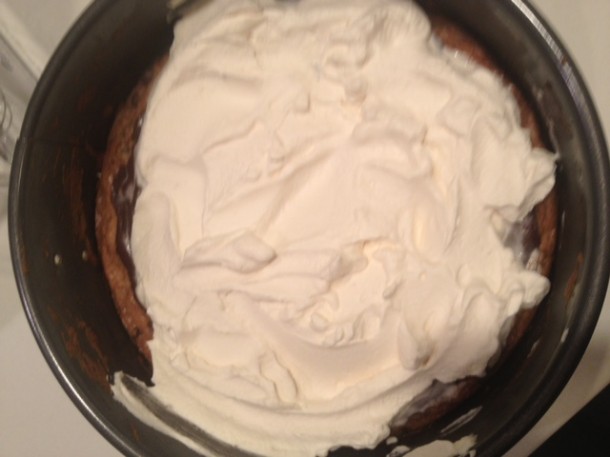
Remove the cookie from the refrigerator and spread the whipped cream topping on top until it covers the cookie.


ilovebaking • Jan 24, 2013 at 5:23 am
WOW I absolutely love this story! It looks delish! 🙂